REVIEW · HOBART
Salamanca Walk – History Tour
Book on Viator →Operated by Peter Lutz · Bookable on Viator
Battery Point tells a darker story on foot. I love how this small-group Salamanca walk makes Hobart’s convict heritage feel clear and human, not like a lecture. You’ll get a gently paced route around Salamanca and Battery Point, with your guide using lots of photos and drawings to help you picture the colony as it once was.
Two things I especially like: first, the pace is relaxed enough for families and mixed ages, so you can actually take it in. Second, the tour doesn’t stop at history; you also come away with practical local pointers for what to eat and where to go for a drink later. The main drawback to consider is that it runs about 2.5 hours with mostly standing and walking, so if you want a sit-down break midway, you may find it a bit long.
In This Review
- Key things to know before you go
- Salamanca and Battery Point: a history lesson you can actually see
- Price and value: what $28.69 gets you in real-world terms
- How the 2.5-hour walk keeps energy up
- Meeting at Salamanca Arts Centre: get your bearings fast
- Arthur Circus Park: a place to pause and connect the story
- Salamanca markets area: seeing change without losing the thread
- Battery Point streets and houses: architecture with a backstory
- The convict-era angle: from quarrying and whaling to foundations of a town
- Photos, drawings, and interaction: why the guide’s style matters
- Family fit: who this is best for (and when it isn’t)
- What to wear and bring for comfort
- Final verdict: should you book the Salamanca Walk – History Tour?
- FAQ
- How long is the Salamanca Walk – History Tour?
- How much does the tour cost?
- Where does the tour start and where does it end?
- How big is the group?
- What’s included in the tour?
- Are meals or drinks included?
- Can children join for free?
- Is it okay for people who don’t want a strenuous walk?
- What if I need to cancel?
Key things to know before you go

- Gently paced, family-friendly walking with all ages able to join
- Max group size of 15, so you get real back-and-forth with your guide
- Photos and drawings included, which makes the stories easier to visualize
- Convict-era focus around Battery Point and the early shaping of Hobart
- Two main stops in parks that help break up the walk and scenery
Salamanca and Battery Point: a history lesson you can actually see
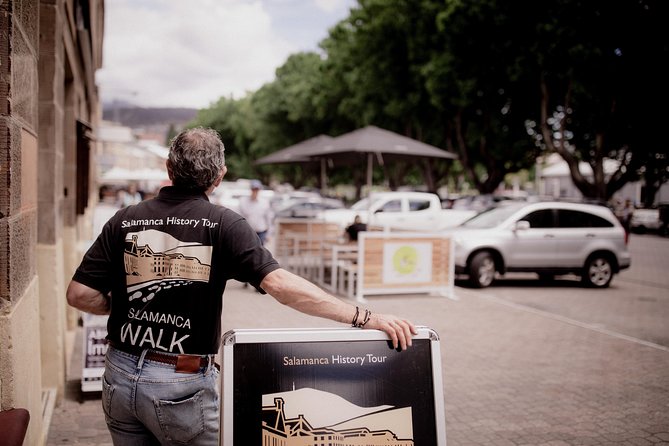
Hobart’s old waterfront area can look charming at first glance. But once you start walking with a guide who connects buildings, streets, and views to what happened there, the place turns into a living timeline. This tour centers on Salamanca and Battery Point, two areas where the layers of early settlement are still visible if you know what to look for.
I really like that the story is built around people—craftsman, clergyman, free settlers, merchants, and convicts—and how their roles shaped the colony. You’ll hear about convict labour used to build foundations of Hobart, along with stories tied to quarrying stone and hunting whales. It’s not just dates; it’s how work, punishment, and opportunity intersected on this shoreline.
The other thing that makes the experience work is the way the guide uses visual aids. The included pictures and drawings help you compare then-and-now, which is exactly what you want in an area where many of the changes are subtle.
Price and value: what $28.69 gets you in real-world terms
At $28.69 per person, this isn’t an expensive activity. More importantly, it’s good value for the amount of context you get in a short time. You’re paying for guided interpretation plus the added help of historical photos and drawings—not just a casual walk.
It’s also a solid deal because the tour is small (15 travelers max). In a big group, you often spend your time listening around the edges. Here, the format is set up for interaction, and the guide is willing to answer questions and slow down when people are curious.
There’s also a thoughtful family angle: tickets for children under 16 are free. If you’re traveling with kids, that can turn this into an easy win compared to other paid museum-style options.
How the 2.5-hour walk keeps energy up
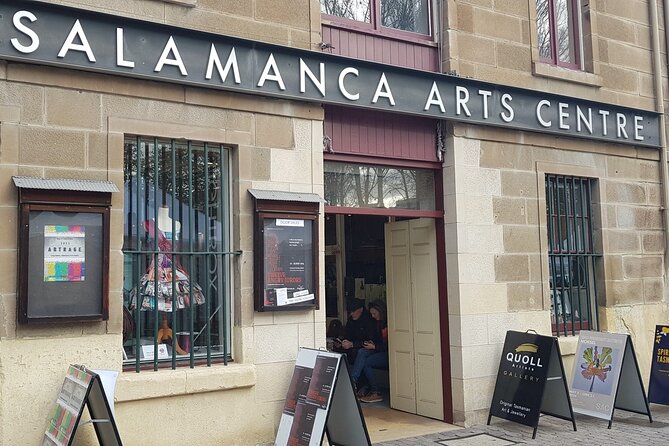
The tour runs about 2 hours 30 minutes and is described as physically not demanding. That matches what you’d hope for in this neighborhood: lots of interesting stops, but not a punishing route.
You’ll be moving through streets and viewpoints at a steady, gentle pace. The “work” is more mental than physical—sorting out who lived where, why the waterfront mattered, and how the colony grew from an early penal outpost into a real town. If you want an active day but don’t want to be wiped out, this hits a nice middle ground.
That said, it’s still a walking tour. There isn’t any mention of long sit-down breaks, so plan around that. Bring comfortable shoes, and if you’re sensitive to cold or wind, dress for Hobart’s weather rather than for perfect conditions.
Meeting at Salamanca Arts Centre: get your bearings fast
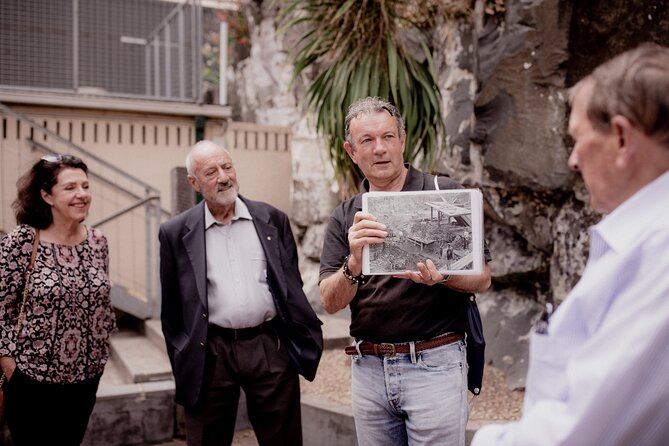
The tour starts at Salamanca Arts Centre, 77 Salamanca Place, Battery Point, and it ends back at the meeting point. Starting right in Salamanca makes sense because it’s a central hub where you can easily connect the walk to your other plans—markets, galleries, lunch, and waterfront time.
Also, if you’re trying to orient yourself in Hobart, this is a smart way to do it early. Once you’ve walked these streets with context, later self-guided strolls feel easier. You’ll spot details you previously would have missed.
The guide-led format matters here: you’re not just walking past historic-looking buildings. You’re getting the “why” behind them, and that makes your own wandering afterward feel more satisfying.
Arthur Circus Park: a place to pause and connect the story
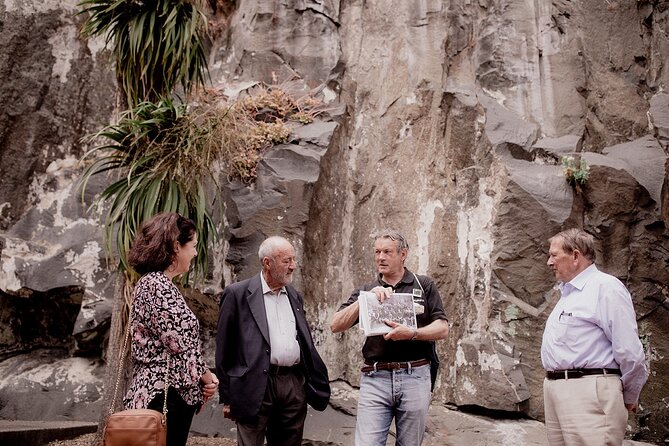
The first named stop is Arthur Circus Park. This is one of those spots that works well for a group: you get open space to look around, but you’re still in the heart of the Salamanca/Battery Point orbit.
From this point, the guide can point out features you might otherwise overlook. One review highlights an Arthur Circus Park detail involving a pine from America. That kind of specific observation is exactly why guided walks beat scanning plaques on your own—you learn what to notice before you start wondering what you’re looking at.
Even if you’re not a “park person,” this stop is useful because it acts like a reset. You get a breather, then you move on with the story fresh in your mind. For many people, that improves the whole pace of the experience.
Potential drawback: if you’re the type who prefers uninterrupted walking, you might find park stops slightly slower. But they also make it more comfortable, especially for families or anyone who wants time to ask questions.
Salamanca markets area: seeing change without losing the thread
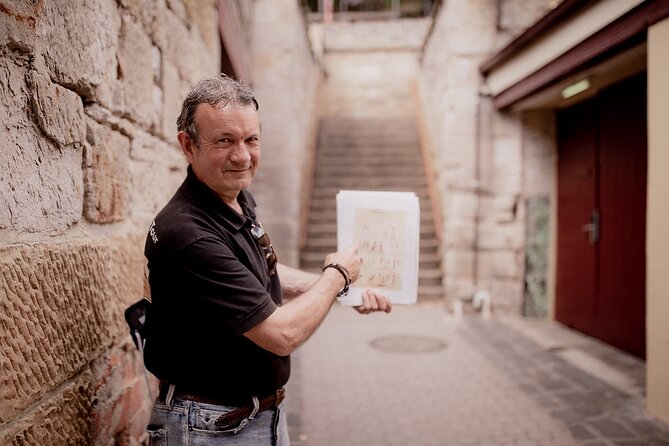
After you start near Salamanca Place, you’ll spend time around the Salamanca market area and nearby historic streets. This section is where the tour helps you understand how the neighborhood shifted over time—what was here early, what changed, and why.
One of the strongest themes in the tour’s approach is “still hidden in plain site.” You may see places that look old at first glance, but the explanation helps you understand the details: which parts connect to settlement patterns, how buildings evolved, and what the area became later.
A review specifically called out learning where land was reclaimed and how the setting developed into what it is today. That kind of info is more than trivia. It helps you interpret why the streets, waterfront edge, and architecture feel the way they do now.
If you’re worried you’ll spend too much time in busy market streets, don’t. The pace is described as gentle, and the guide uses photos and drawings to keep the focus on the story rather than just the sights.
Battery Point streets and houses: architecture with a backstory

Battery Point is where the tour really earns its keep. This is the part focused on architectural treasures overlooking the Derwent River, and it’s also where the convict heritage stories land with the most weight.
What I like about Battery Point in a guided setting is that it prevents the common mistake of treating old buildings like a pretty backdrop. Here, you’re shown how the community was formed and how different groups moved through daily life—workers, merchants, and the people shaped by the penal system.
The guide’s photos and drawings help a lot, especially if you’re traveling with someone who learns best by visual comparison. More than once, reviews mention the laminated images and how they make it easier to compare past and present while you’re standing right in the same area.
One more practical reason this section is great: Battery Point is an easy area to get lost in visually. The tour gives you a route and a frame, so you’re not wandering aimlessly thinking, I’m looking at old houses… but what’s the point?
The convict-era angle: from quarrying and whaling to foundations of a town
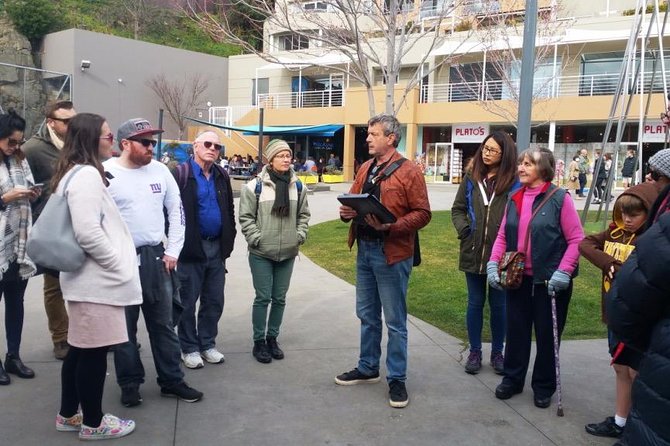
A big part of the experience is the colony’s “torrid” side—how early Hobart connected to convict labour and harsh work. You’ll hear stories about how people began quarrying stone, hunting whales, and building the foundations of Hobart.
Even if convict history isn’t your favorite topic, the value here is that the tour connects the convict story to the physical place around you. Instead of hearing the story in the abstract, you hear it tied to the street and the buildings you’re standing near.
The tour also spreads the focus beyond convicts alone. You get insight into craftsman, clergyman, free settlers, and merchants—so the picture isn’t one-note. The end result is a more complete sense of how Hobart functioned, how it grew, and how different lives collided and overlapped.
Photos, drawings, and interaction: why the guide’s style matters
This is a walking tour where the guide doesn’t just speak; they show. Included pictures and drawings of Hobart, Salamanca, and Battery Point are part of how the narrative comes together.
Reviews consistently mention guides using lots of old photos and maps, with humor and friendliness that keeps the group engaged. Peter Lutz is listed as the provider, and reviews also mention guides such as Lydija and Carmen on other departures. Either way, the pattern is the same: you get explanations that aim to make the area feel personal.
I also appreciate that it’s interactive. One featured comment mentions questions from the group being answered well, which is a good sign. If you like to ask why a building looks the way it does, or you’re curious about a detail you noticed while walking, this tour is built to handle that.
Family fit: who this is best for (and when it isn’t)
This walk is described as suitable for all ages, with a physically not demanding route and a max group size that helps it feel manageable. It’s a good option if you want a family-friendly history outing that doesn’t require kids to sit still for long stretches.
You’ll also like it if:
- you’re new to Hobart and want a quick orientation with stories
- you enjoy walking tours that explain what you’re seeing
- you like visual comparisons using photos and drawings
- you’re traveling mid-week in winter or in cooler months and want something indoors-adjacent in energy level (even though it’s outdoors, it’s not a strenuous hike)
When it might not fit as well: if you strongly prefer long museum-style breaks, or if you need a lot of seated time, you may wish you had built in extra café time right before or after. The tour is about moving and looking.
What to wear and bring for comfort
The tour is easy going, but comfort still matters for a 2.5-hour stroll. Wear closed-toe shoes you’re comfortable in, since you’ll be stopping and standing in different areas.
Bring a light layer if you’re walking in winter or windy weather. And if you’re the type who loves photography, have your camera ready—because historical details and street angles can make great shots once you know what to look for.
No food or alcoholic drinks are included, so plan your timing around meals. Many people prefer to do this before lunch so you build an appetite and then head to a place that matches the guide’s local recommendations.
Final verdict: should you book the Salamanca Walk – History Tour?
I’d book this if you want a short, high-impact history experience in a compact part of Hobart. The combination of small group size, photos and drawings, and a guided explanation of convict-era work makes this more than a scenic stroll. You’ll leave with a better sense of how Salamanca and Battery Point became what you see today, and you’ll know what details to pay attention to next time you walk there.
I would skip it only if you strongly dislike walking for about 2.5 hours without much sitting, or if you’re looking for a purely “light and fun” tour with no dark history themes. If you can handle some heavy subject matter, this is one of the most practical ways to understand the town’s roots fast.
FAQ
How long is the Salamanca Walk – History Tour?
It lasts about 2 hours 30 minutes.
How much does the tour cost?
The price is $28.69 per person.
Where does the tour start and where does it end?
The tour starts at Salamanca Arts Centre, 77 Salamanca Place, Battery Point TAS 7004, Australia, and ends back at the meeting point.
How big is the group?
The tour guarantees a small group with a maximum of 15 travelers.
What’s included in the tour?
Included items are pictures and drawings of Hobart, Salamanca, and Battery Point.
Are meals or drinks included?
No. Alcoholic beverages and food or beverage items are not included.
Can children join for free?
Yes. The tour offers free tickets for children under 16.
Is it okay for people who don’t want a strenuous walk?
Yes. The experience is described as physically not demanding and attended by all ages, with most travelers able to participate.
What if I need to cancel?
You can cancel for a full refund if you cancel up to 24 hours in advance. If you cancel less than 24 hours before the start time, the amount paid is not refunded.