REVIEW · LONDON
City of London History Tour: The Square Mile that Rose to Empire
Book on Viator →Bookable on Viator
A hidden storyline runs through the Square Mile. This 2.5-hour history walk connects Roman-to-Norman London with City power, from St. Alphage London Wall to the Bank of England. You’ll get a tight chain of sights that actually explains how the area grew from fortifications into influence.
I love how the route mixes famous landmarks with quieter, street-level corners—so you’re not just ticking boxes. I also like that the tour keeps it practical: most stops are admission-free, and it runs with a small group size (max 8), guided by Argun when you’re lucky. One thing to consider: it’s a steady urban walk with 15 stops in about 2 hours 30 minutes, so if you need lots of seated downtime, you may feel the pace.
In This Review
- Key highlights worth planning around
- The Square Mile story: from Roman fort to modern finance
- Price and time: $30.69 for a 2.5-hour concentrated route
- A small group walk that stays flexible (and works for strollers)
- Stop 1 & 2: St. Alphage London Wall and the oldest Roman wall section
- Stop 3: St. Giles Cripplegate and the Norman-to-Saxon layering
- Stop 4: Salter’s Hall Garden and the trade, governance, and sacrifice theme
- Stop 5 & 6: Brewers’ Hall and St Mary Aldermanbury Garden’s memory walls
- Stop 7 & 8: The City of London (as a place) and Guildhall’s myth-to-government storyline
- Stop 9 & 10: St. Lawrence Jewry and the Roman amphitheatre connection
- Stop 11 & 12: St. Margaret Lothbury and the Royal Exchange’s golden grasshopper
- Stop 13: Mansion House and the Lord Mayor’s role
- Stops 14 & 15: The dragon-circle conclusion and the Bank of England’s golden statue
- Best fit: who will enjoy this walk most
- A realistic drawback to keep in mind
- Small tips to make the most of it
- Should you book the City of London History Tour?
- FAQ
- FAQ
- How long is the City of London History Tour?
- How much does the tour cost?
- What language is the tour offered in?
- Where does the tour start and end?
- Is a mobile ticket provided?
- What is the group size limit?
- Is the tour wheelchair and stroller accessible?
- Are there admission tickets required for the stops?
- What is the cancellation policy?
- When is the booking typically made?
Key highlights worth planning around
- Roman wall origins shown right where the story began at St. Alphage London Wall and the City wall fort
- Livery company power through places like Salter’s Hall and Brewers’ Hall
- City governance in real locations at Guildhall, the municipal centre, and the Mansion House
- Iconic details you’d miss alone, including the golden grasshopper and the Bank’s golden statue
- Small group format (up to 8) that works well for questions and slow looking
- Wheelchair and stroller accessible, so the Square Mile is easier to tackle than you might expect
The Square Mile story: from Roman fort to modern finance

The big idea here is simple: the City of London didn’t become important by accident. You start with the hard stuff—walls and churches—then you watch authority shift into governance and trade, and finally you end at institutions that still shape the world.
The tour is built to help you see layers in one compact area. Roman wall lines, medieval faith, merchant guild influence, and later financial power all sit within walking distance. If you’ve ever looked at a London street and thought, what happened here, you’ll get answers in the places themselves.
You can also read our reviews of more city tours in London

Price and time: $30.69 for a 2.5-hour concentrated route
At $30.69 per person for about 2 hours 30 minutes, the value comes from density. You’re not paying to ride somewhere; you’re paying for a guided walking sequence that connects meaning between stops—Roman fortification → City governance → trade institutions → Bank of England.
A second value point: the tour’s stops are listed as admission ticket free. That matters because it keeps your out-of-pocket costs down and makes the walk feel easier to justify, especially if you want to spend your money on museum time later.
A small group walk that stays flexible (and works for strollers)
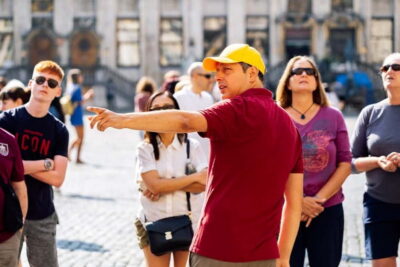
This is a max 8-person tour, which changes the vibe fast. You’re close enough to hear, and the guide can slow down when you’re staring at a doorway, a statue, or a wall line. That’s also helpful when the route includes gardens and church spaces where you might want a moment to take things in.
It’s also wheelchair and stroller accessible. For a place as cobbled-and-crowded as London’s core, that’s not a small detail. You’ll still be walking, but it’s set up so more people can experience the route without feeling shut out.
Stop 1 & 2: St. Alphage London Wall and the oldest Roman wall section
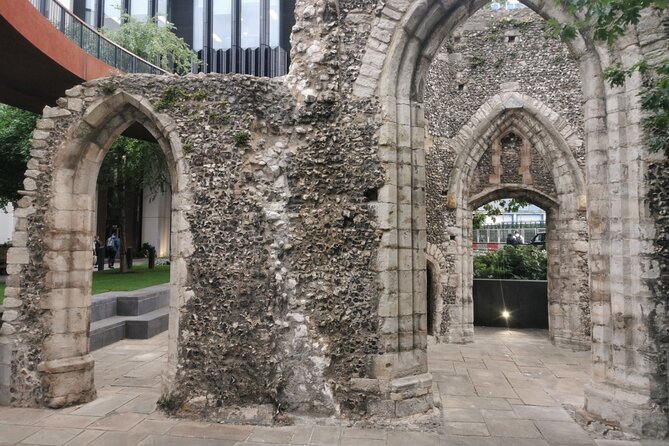
You begin at St. Alphage London Wall in the Salters garden area (Start point: Barbie Green 2 London Wall Pl, Barbican). This first moment matters because it frames the whole trip. Here, the story starts at the point where Roman London needed defense, and where later London took those same lines and built new meaning on top.
From there, you move to the Roman city wall, including the oldest part described as the Fort. You’ll get the sense of how physical structure becomes historical leverage. The wall isn’t just a relic—it’s a reason the City could keep shaping its identity as waves of rule changed.
What to watch for: pay attention to how the guide links the wall’s purpose to later developments. You’ll start understanding why governance and trade later clustered where they did.
Stop 3: St. Giles Cripplegate and the Norman-to-Saxon layering
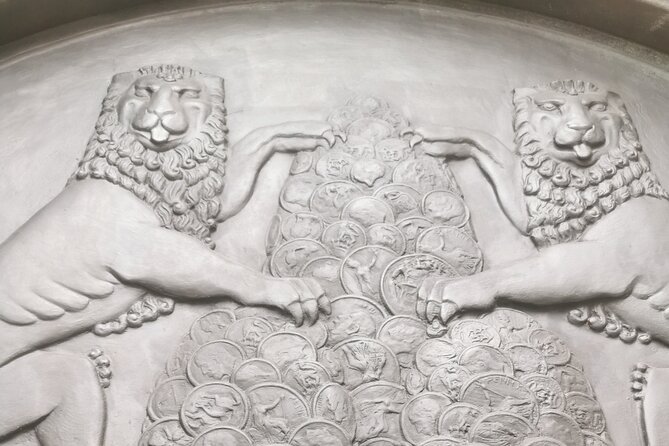
Next up is St. Giles Cripplegate, described as one of the oldest medieval churches in the City since Norman time, built on the site of an older Saxon church. Even if you don’t catch every architectural detail, the key takeaway is the continuity of the sacred landscape—different eras reusing the same ground.
This stop is a good reset. After the concrete story of walls, you switch to community and worship, and you start seeing how the City’s identity wasn’t only commercial or political. It was also religious and local, even while still tied to larger power.
You can also read our reviews of more historical tours in London






Stop 4: Salter’s Hall Garden and the trade, governance, and sacrifice theme
In Salter’s Hall Garden, the tour shifts from defense to the people who ran the City. The Roman wall is framed as the ongoing physical structure that helped fortify London from outside influence. Then the guide connects that protection to the longer social story, including references to Celtic people and the indigenous groups connected to why Romans fortified Londinium.
Salter’s Hall itself is a named highlight: it’s tied to trade, governance, and sacrifice, and it’s ranked 9th among 12 most important livery companies. That ranking detail helps you understand these groups weren’t random. They were organized power—business and civic roles wrapped together.
If you like history that explains how systems work, this is one of your best stops. You’ll leave with a clearer idea of how the City functioned beyond just kings and battles.
Stop 5 & 6: Brewers’ Hall and St Mary Aldermanbury Garden’s memory walls
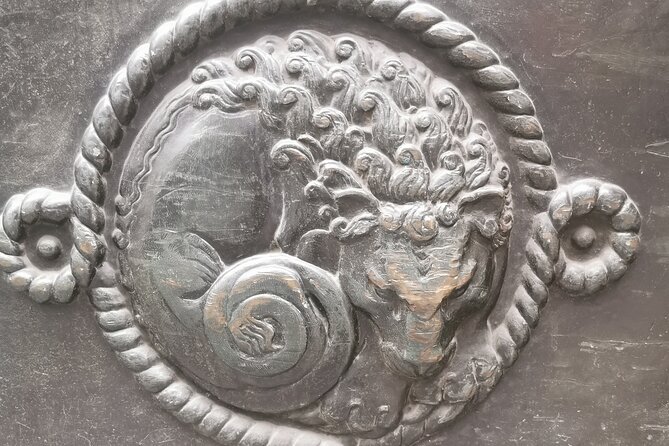
At Brewers’ Hall, the description is playful on purpose: the livery company that set the standard for booze. That might sound like a joke, but it’s actually useful. It shows you that these weren’t only ceremonial organizations; they regulated trades that affected daily life.
Then you go to St Mary Aldermanbury Garden, where the ruins connect to the name tied to a historic court or bery of aldermen, linked to the Guildhall. You also learn the garden hosts memorials to a Shakespeare and two legends connected to two different livery companies.
This stop’s value is perspective. It’s easy to think London history lives in grand buildings only. Here you get memory and governance blended into small outdoor spaces.
Stop 7 & 8: The City of London (as a place) and Guildhall’s myth-to-government storyline
At City of London, the tour treats the area itself as a character. You briefly land on the municipal governing body of the City of London—the historic centre—so you can place everything you’ve seen so far into a bigger civic frame.
Then comes Guildhall, the City’s town hall. The site is said to have been on its current location since at least the 13th century. The guide also covers mythology and influence spanning Greek through Roman, Saxon, and Norman periods.
You’ll probably like this stop most if you enjoy the angle that cities are cultural machines. Guildhall isn’t only a building; it’s a symbol used and reshaped across centuries.
Stop 9 & 10: St. Lawrence Jewry and the Roman amphitheatre connection
At St. Lawrence Jewry, you learn how the church ties to the City of London Corporation, with a story about the saint who supported Christianity’s spread—paired with an account of a cruel sacrifice. The point isn’t gore; it’s how belief stories became part of civic identity.
Then Guildhall Art Gallery becomes the pivot to archaeology-by-proxy. It’s listed as the location of the Roman Amphitheatre. Even if the amphitheatre isn’t fully obvious from the outside, the connection changes how you read the building. You realize you’re standing near a Roman venue for public life, not just a modern gallery.
Stop 11 & 12: St. Margaret Lothbury and the Royal Exchange’s golden grasshopper
St. Margaret Lothbury Church is described as representing two City wards, and you also learn about how livery companies got the naming connection to being called Worshipful companies. This is one of those details that can look small until you connect it to who had status—and why.
Then you move to the Royal Exchange. The tour frames it as built by a legend for adventurers to meet, tying those early business spaces to people who helped shape a new world. And yes, you’ll look for the golden grasshopper on top, which turns the Exchange into a storybook object rather than a forgettable facade.
If you’re traveling with someone who thinks London is all museums and monuments, the Royal Exchange stop usually flips their opinion. It feels like living commerce with a myth layer.
Stop 13: Mansion House and the Lord Mayor’s role
At the Mansion House, the focus is governance at the top. You learn that the Lord Mayor of the City of London heads the civic side and also functions as an international ambassador for the UK’s financial and professional services sector. The tour treats it like the City’s home base for authority.
This stop works well because it connects the earlier livery company story to modern professional power. It’s the same theme—organized influence—but updated to today’s global economy.
Stops 14 & 15: The dragon-circle conclusion and the Bank of England’s golden statue
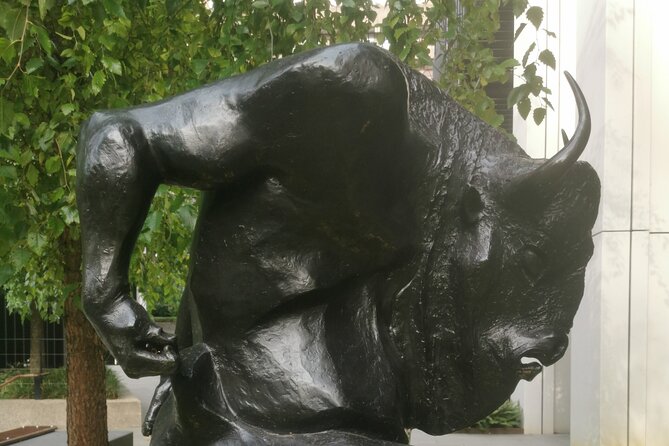
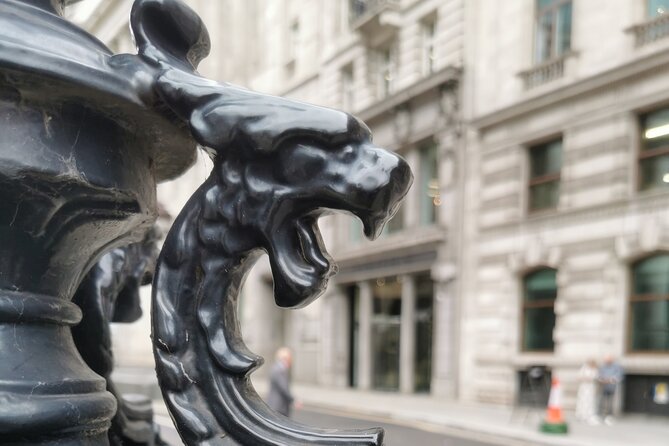
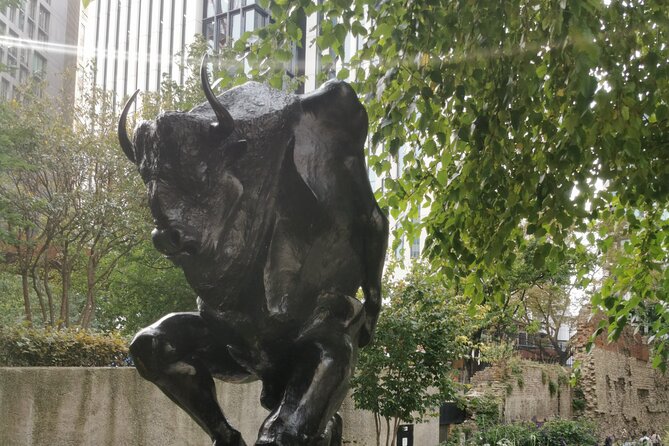
Your route finishes with the London Troops War Memorial at Cornhill, described as inside a circle of 12 dragon lamp posts representing the 12 great livery companies. The guide also highlights notable figures remembered around the area and returns to the Minotaur thread used as a storytelling device.
Ending with the Bank of England makes the last step feel inevitable. You get a look at the institution as both traditional and forward-looking, plus a story behind the golden statue on top. It’s a strong final contrast: from Roman defensive walls to modern financial influence, with symbolism still doing a job.
If you like tours that end with a clean narrative payoff, this one is built for that.
Best fit: who will enjoy this walk most
This experience is ideal if you’re a history fan who likes connections more than isolated facts. It’s also great for London newcomers because the route anchors you in the Square Mile—so you can later explore on your own with better context.
It’s especially good for you if you’re curious about how business and civic power developed. Livery halls, ward identities, Guildhall’s role, and the Bank’s symbolism all point to one idea: institutions don’t just happen; they’re built, protected, and remembered.
A realistic drawback to keep in mind
With 15 stops in roughly 2 hours 30 minutes, you’ll be moving. If you want a tour that includes lots of sitting, long interior time, or fewer street crossings, this may feel busy. The payoff is speed and continuity—just know what kind of pacing you’re choosing.
Small tips to make the most of it
- Bring a phone for quick map checking, because the City streets can be deceptively complex.
- Keep an eye up as much as down—this tour rewards noticing details like the golden grasshopper and other symbolic features.
- If something clicks for you (like livery company rank or ward names), ask a follow-up question. Small groups make that easier.
Should you book the City of London History Tour?
If you want a focused walk that makes the Square Mile make sense, I’d book it. The value is strong for the price because you get a guided story plus admission-free stops packed into one route, and the ending at the Bank of England lands with real meaning.
Skip it only if you’re looking for a slow, museum-style experience with lots of indoor time. This is a street-history tour—more “learn the system” than “stand in a gallery.”
FAQ
FAQ
How long is the City of London History Tour?
It’s approximately 2 hours 30 minutes.
How much does the tour cost?
The price is $30.69 per person.
What language is the tour offered in?
The tour is offered in English.
Where does the tour start and end?
It starts at Barbie Green 2 London Wall Pl, Barbican, London EC2Y 5AU, UK, and ends at London Troops War Memorial, 1 Cornhill, London EC3V 3LN, UK.
Is a mobile ticket provided?
Yes, the tour offers a mobile ticket.
What is the group size limit?
The tour has a maximum of 8 travelers.
Is the tour wheelchair and stroller accessible?
Yes, it’s wheelchair and stroller accessible.
Are there admission tickets required for the stops?
The tour lists admission ticket free for the stops included in the route.
What is the cancellation policy?
You can cancel for a full refund up to 24 hours in advance. If you cancel less than 24 hours before the start time, the amount paid is not refunded.
When is the booking typically made?
On average, it’s booked 39 days in advance.